Epoxy for Beginners
The three types of epoxy coatings
If you're new to epoxy resin, you're probably unfamiliar with the various terms often used when describing the coating steps of the crafting process.
For this article, we'll be explaining three different types of epoxy coating, each of which serves a unique purpose. These types are:
Epoxy seal coats
Epoxy flood coats
Deep-pour epoxy coats
Two of these are present in nearly every epoxy project, while the third is only used for specific types.
Coat #1: Epoxy seal coats
An epoxy seal coat is applied as a preliminary step; for non-marine purposes, it's almost always made using tabletop epoxy, and rarely the deep pour epoxy. It's one of the first things you do as you start working on your project.
In epoxy crafting, the material you'll be applying your resin to is called the substrate. This is the surface that your epoxy resin mixture will bond to during a chemical process called curing.
Most of the materials that epoxy bonds best with are porous—notably all types of wood. This means they have tiny, often imperceptible holes and grooves throughout their structure, and these holes generally contain air unless they've already been filled with something else.
When you pour epoxy onto a surface like this, the epoxy will slowly seep into the material, attempting to fill these little voids until there's nowhere left to go, then it will settle on the surface itself.
Normally, when you pour a liquid (such as water) onto a surface like this, it takes only a moment for it to seep in and drench it, but because epoxy is very viscous, it flows relatively slowly, thus taking a lot longer to settle in the same circumstances.
This high viscosity level makes it thicker, so air and vapor don't pass through as easily.
It is due to these two characteristics that when epoxy is poured directly onto a porous surface, what will often happen is the air within these pores will attempt to make way and leave as the epoxy settles in.
Yet because of how thick and viscous epoxy resin is, the air only partly escapes, instead becoming suspended within the epoxy resin. We call these pocket formations "air bubbles".
To avoid this issue, we always recommend applying an epoxy seal coat prior to any other coatings. This type of coating is one that you paint onto the surface using a nice, clean paintbrush.
The idea is that by mixing up a small batch of epoxy and manually painting a thin layer of it onto the surface beforehand`, a seal coat will force the air out of those pores, releasing it and setting up your project for a stronger, cleaner bond. This in turn prevents the formation of many air bubbles.
The thin layer will be thick enough to seep in and seal the substrate, yet thin enough to allow the air inside to escape. Since you'll be pouring a flood coat later, any brush strokes left behind will vanish as the seal coat and the flood coat mesh together—as long as you time it right per the instructions.
Though rare, there are some scenarios in which you may even want two seal coats. It can be necessary if you have a very porous surface when you want to embed certain types of objects, or if you're simply uncertain whether the first coat was applied properly.
Coat #2: Epoxy flood coating
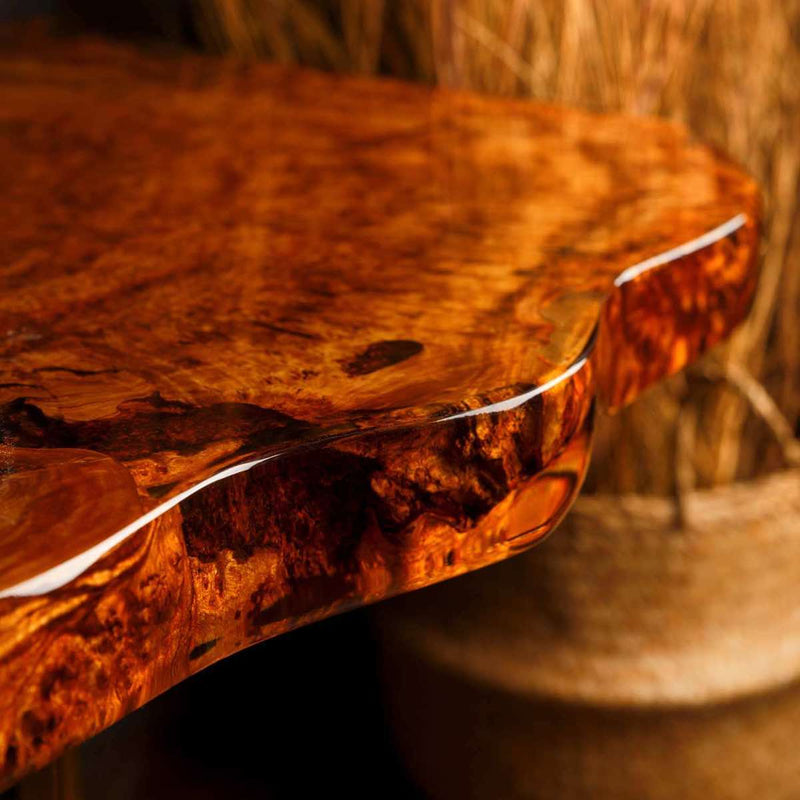
An epoxy flood coat is typically your final epoxy coating. This is what you pour onto your surface sometime after your seal coat(s) and deep pour coats. It is the most visible and probably most appealing part of the project.
It's also one of the easiest parts.
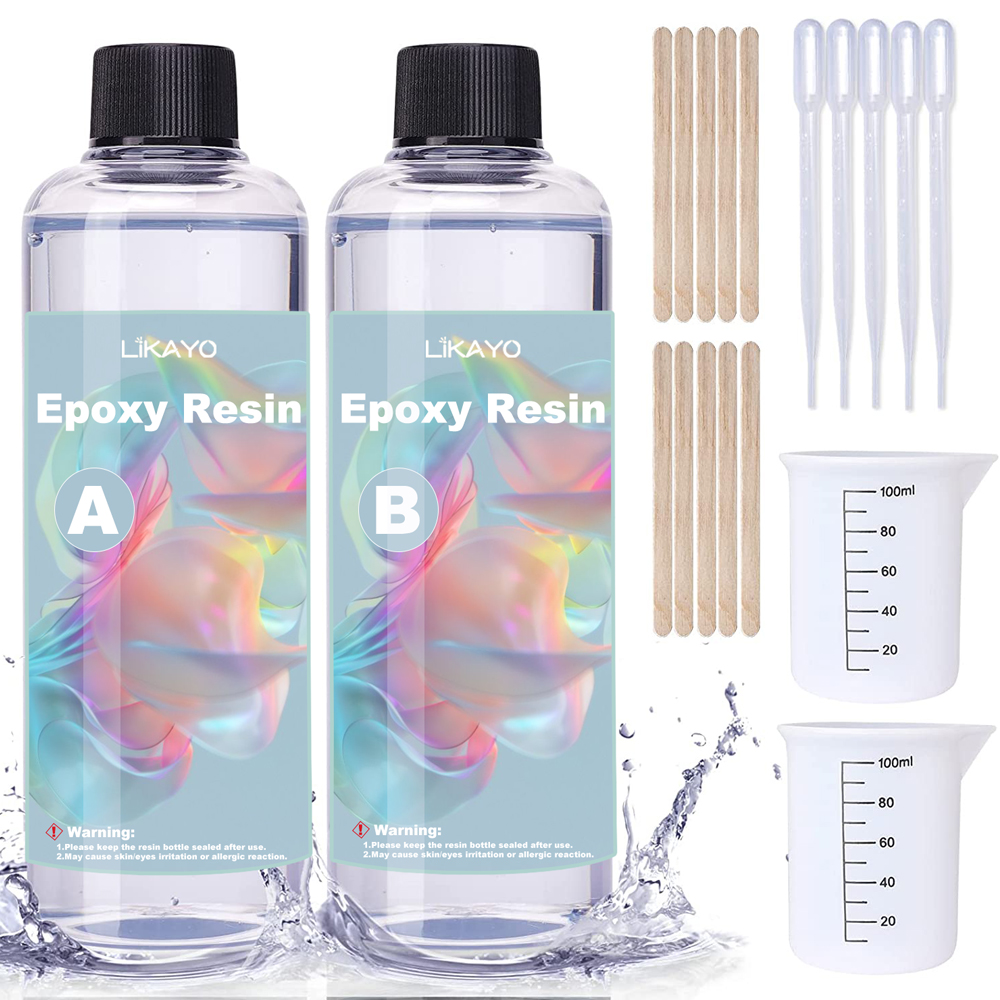
For an epoxy flood coat, much like with seal coats, you'll almost always use a topcoat epoxy, such as our LIKAYO Table Top Epoxy. This is because it's the most durable and resilient of the epoxy types.
Moreover, tabletop epoxies are self-leveling. They have higher viscosity than other epoxy types, as well as high cohesion, meaning they tend to stick together well, much like how water will bead up on non-absorbent surfaces.
This self-leveling aspect is what makes the floodcoat step so straightforward.
You simply mix up your batch, often using a power drill with a mixing bit. In some cases, though, if you're making a batch of less than a gallon, you should instead manually mix with stir sticks, as a power drill can unintentionally pull in air for low-volume batches.
Once you've mixed according to the included instructions, you should immediately pour the flood coat batch directly onto your surface, moving slowly about to make sure it all gets covered. It will naturally self-level until the coat has reached a uniform 1/8 of an inch, at which point any excess will flow off the table and partially wrap around the side of the substrate.
If you happen to mix and pour too much, it may start to drip onto the floor, so it's a good idea for your project to have something like 4 mil painter's plastic on the surface below to catch these droplets.
With floodcoats, one is usually enough, especially for common projects like epoxy countertops or bar tops as well as table tops. However, since the coat can only be poured in 1/8-inch layers, some users choose to apply a second flood coat several hours later to make the epoxy finish thicker.
Be sure to follow the instructions for this if you decide to apply multiple flood coats.
Coat #3: Deep pour epoxy coats
A deep-pour epoxy coating can be made using our Deep Pour Epoxy. It has a thinner consistency when mixed and is less likely to retain air bubbles or develop other blemishes related to layer thickness.
Because of this, our LIKAYO Clear Deep Pour Epoxy can be poured in two-inch layers without any particular issues.
For most deep pour projects, you should block off the substrate perimeter with a temporary dam, with railings, or with raised edges, since this epoxy can flow right off the surface and onto the space beneath it due to its lower viscosity.
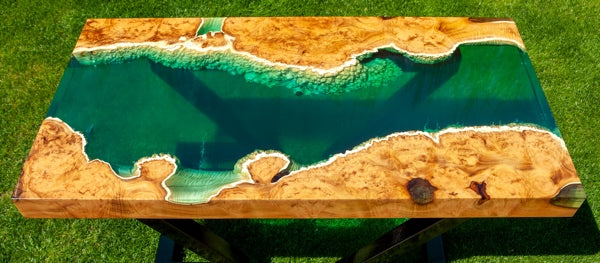
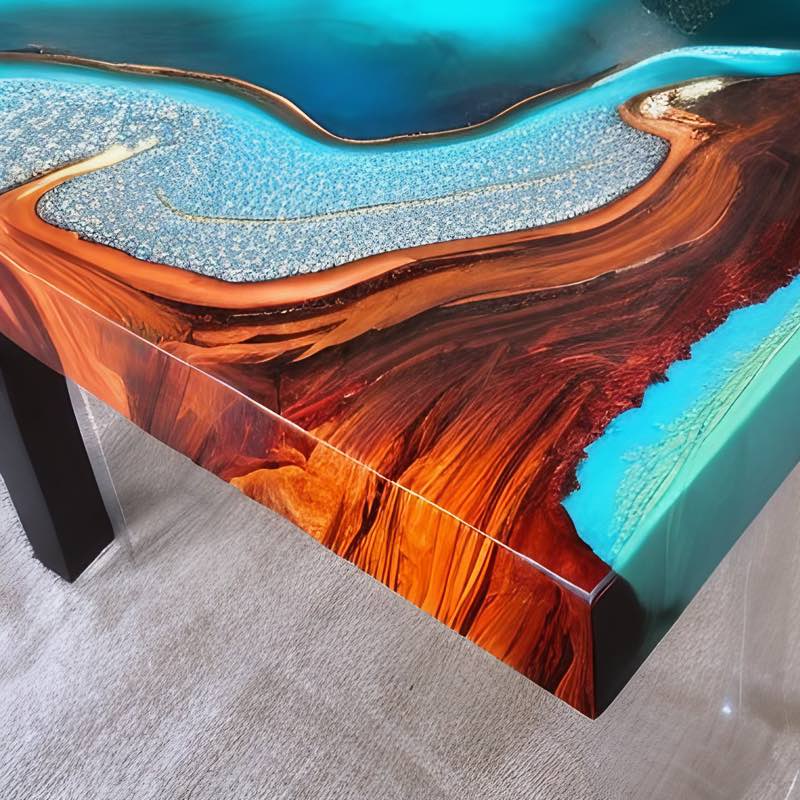
Deep-pour epoxy is what makes the "river" vein in epoxy river tables. It's also used for casting, such as with silicone molds, because of the heavy layers they support. Filling in deep voids and gaps between oddly shaped substrates is what deep pour epoxy excels at.
That being said, deep-pour epoxy does have a downside: It's not as durable as tabletop epoxy.
For any project that will see high traffic or frequent interaction, you may want to apply a topcoat of tabletop epoxy. This is essentially a final flood coat on top of your deep pour coating, and it will protect the deep pour epoxy layer(s) and preserve your project for years to come.
Post time: Oct-13-2023